
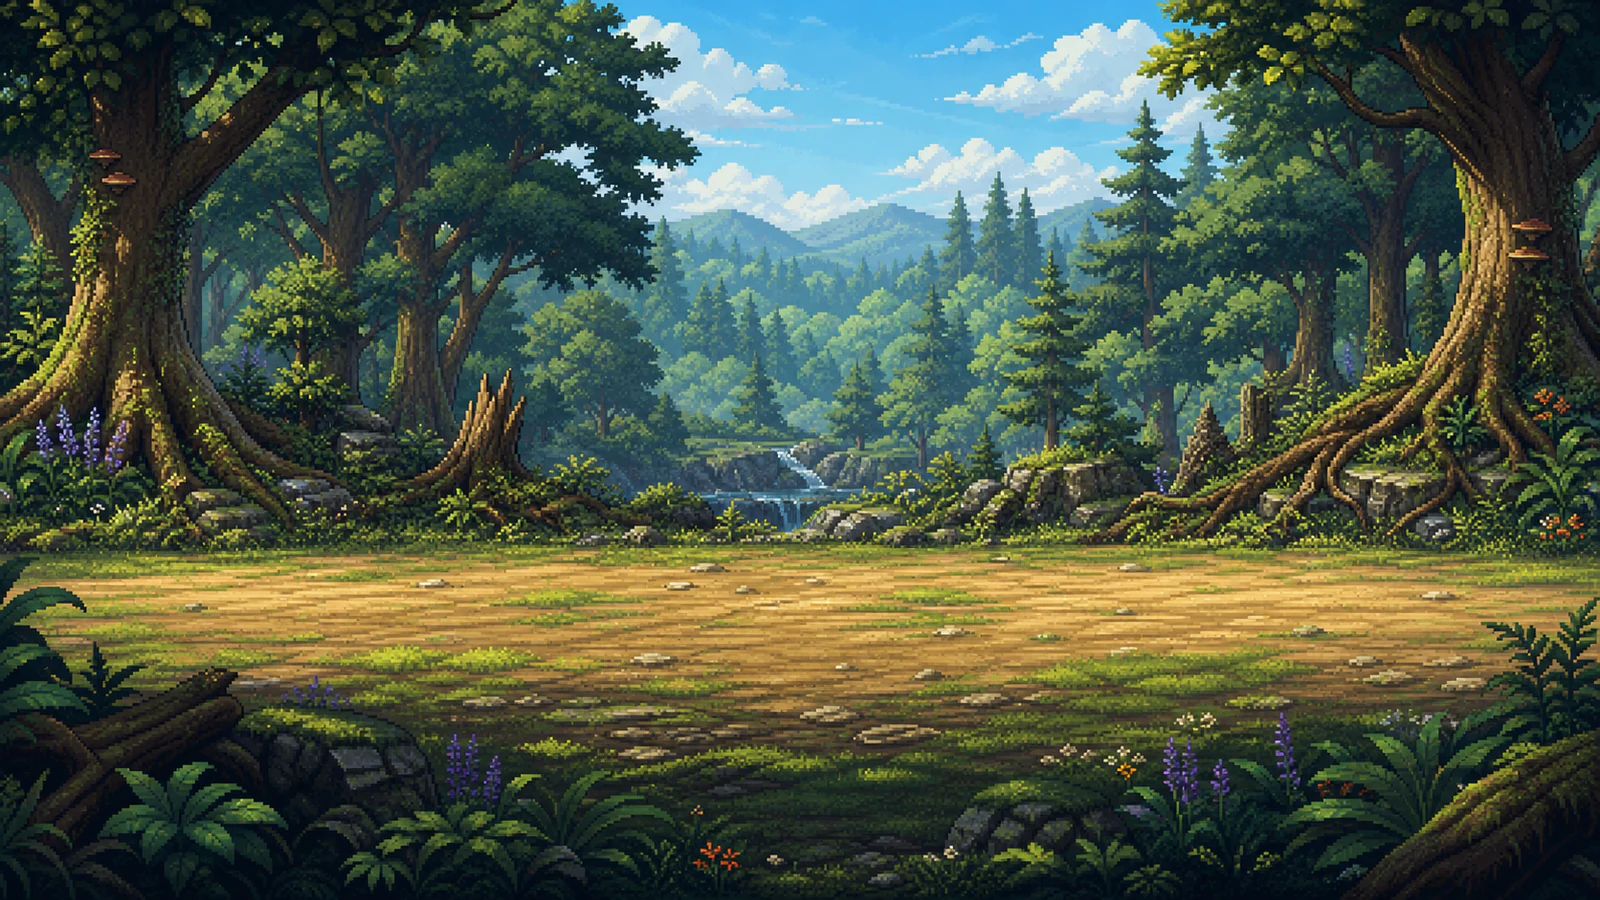
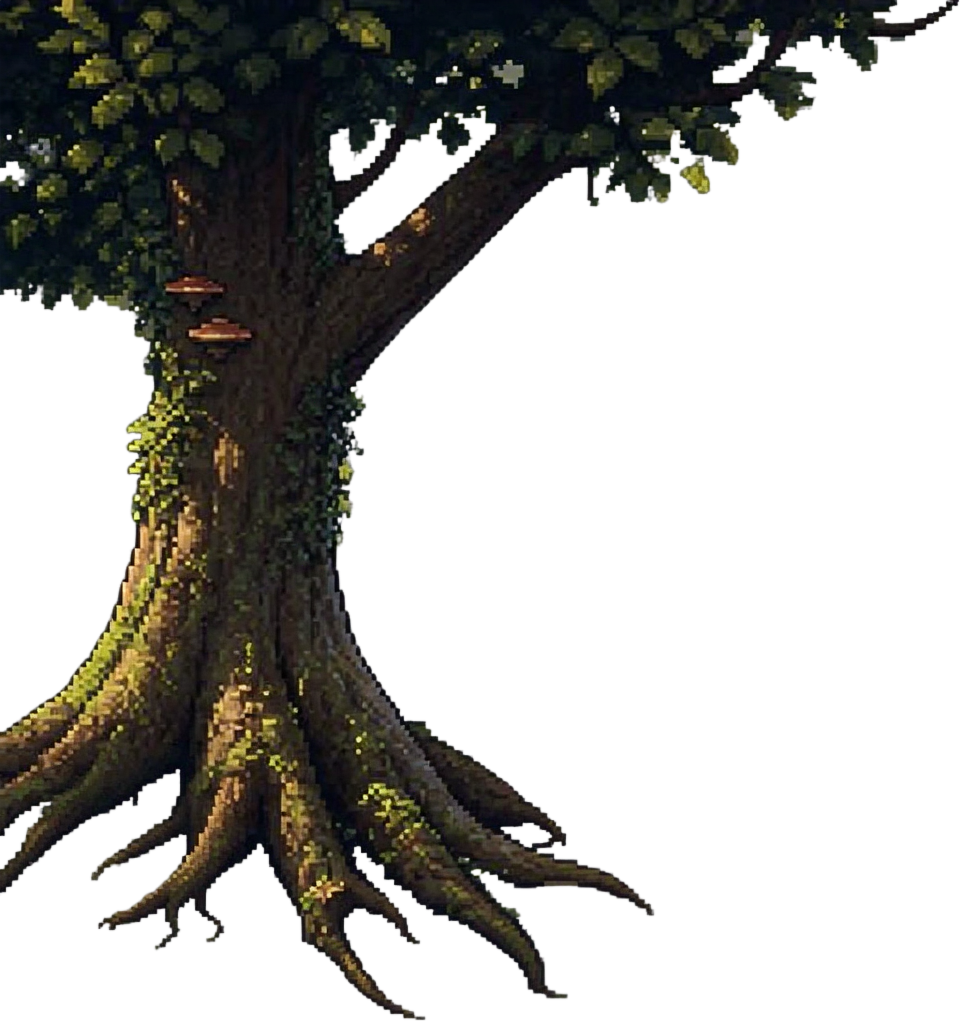
A foreground tree from a forest scene
The tree is separated from the surrounding forest. The generated roots and canopy details differ from the source, so this is a starting asset to review rather than a pixel-identical cutout.
Turn a tree, building or prop in your scene into a separate transparent PNG. Click the object, adjust its bounds and inspect the AI extraction before adding it to your game.
These three pairs use the same object-selection and extraction workflow as the tool above. Compare the original scene with the actual AI output, including the details that changed.
The tree is separated from the surrounding forest. The generated roots and canopy details differ from the source, so this is a starting asset to review rather than a pixel-identical cutout.
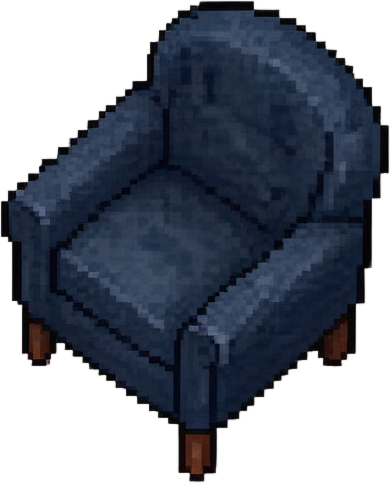
The output isolates the blue chair from the study floor and nearby table. The upholstery, outline and legs are re-rendered; check those details against the room before reuse.
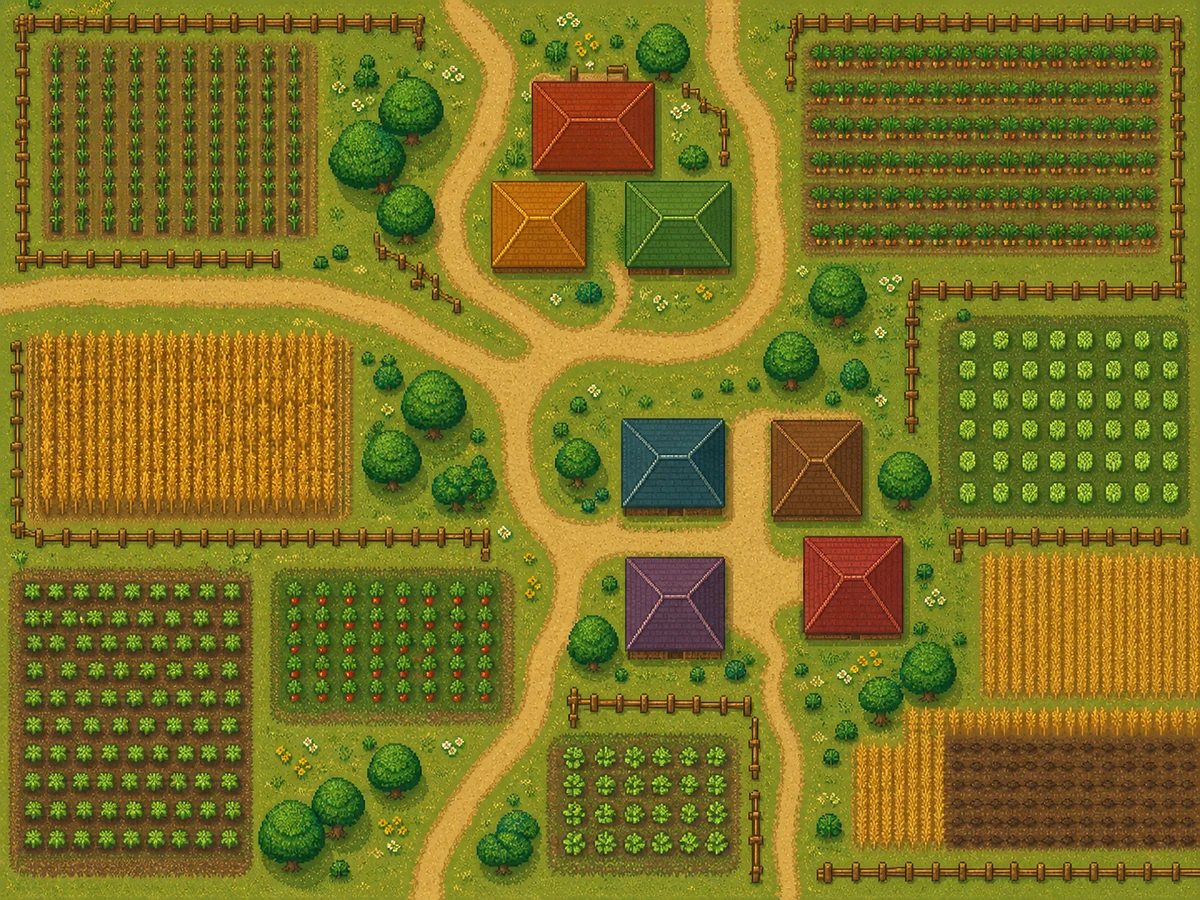
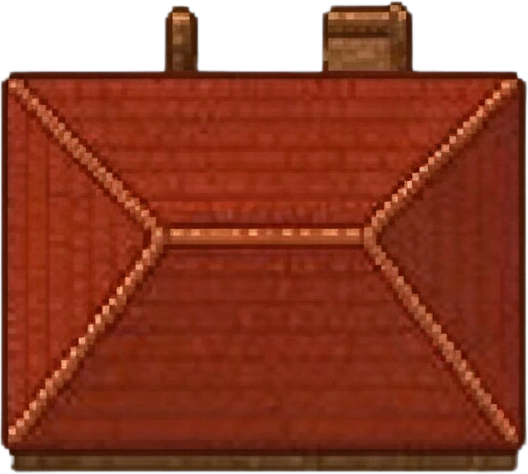
The selected house is separated from paths, crops and neighboring buildings. Roof shading and chimney shapes can change, and the output is not aligned to a fixed tile grid.
Checkerboards show transparent areas. Outputs are shown at a different display scale from the source. AI may redraw edges, textures and obscured details; these examples have not been manually retouched.

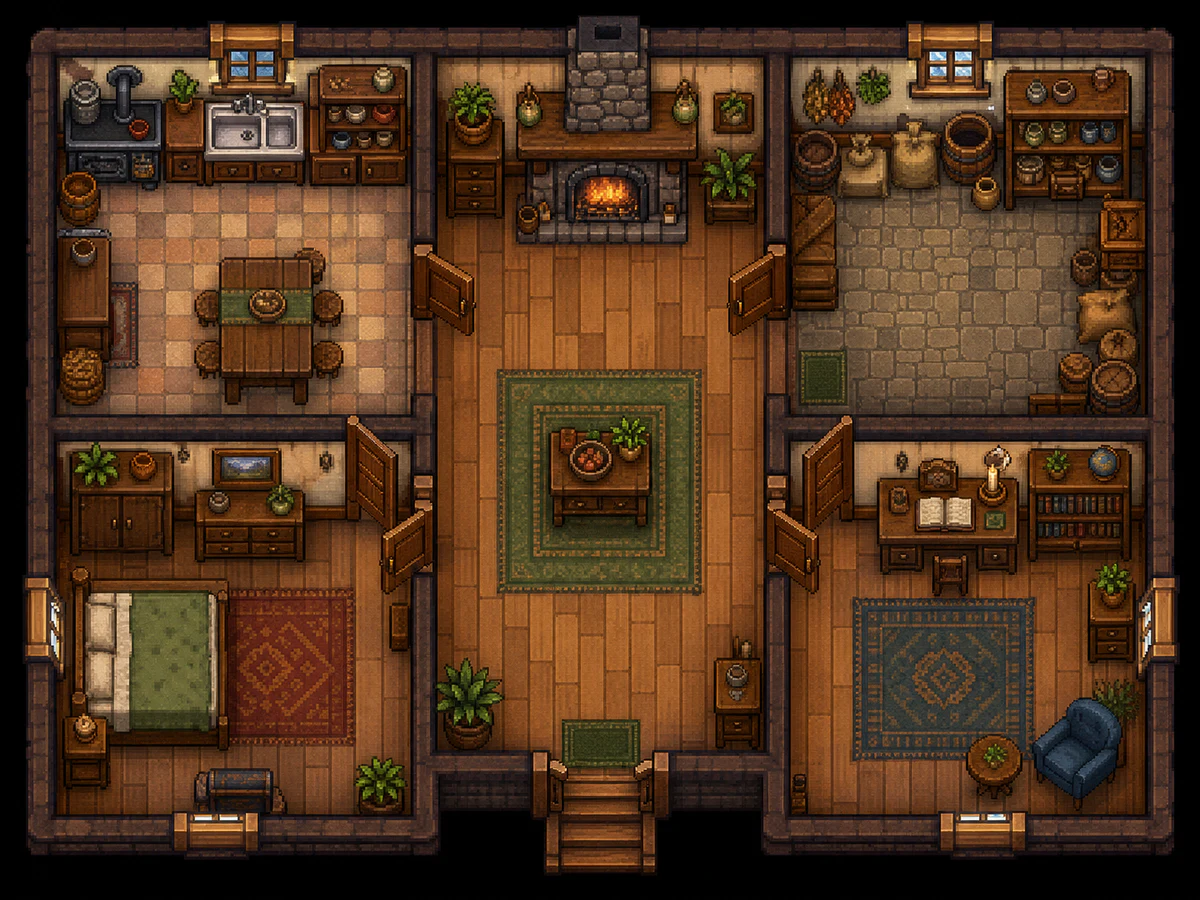
An extraction experiment comparing the furnished farmhouse with an example empty map.
Use your own scene art as the starting point for reusable props, scenery and prototypes.
An environment concept may contain the tree or rock your level needs. Select that one object, review the extracted PNG and set its scale and pivot in your editor before placing it as scenery.
Turn a visible chair, table or cabinet from a room illustration into an independent prop. Inspect overlaps carefully: the model may reconstruct hidden edges instead of recovering original pixels.
Extract a building from a village image to test its position in a map mockup. The PNG gives you a movable object; collision, tile dimensions and engine setup remain part of your project.
Choose a source image, confirm one target, then inspect the transparent output.
Use a PNG, JPEG or WebP, pick a scene from your asset library, or try the example image. Start with a clearly visible object and enough detail to judge its shape.
Click inside the object, read its description and check the proposed bounds. Adjust the four edges to include the whole object while avoiding neighboring props.
Submit the 3-credit extraction, then inspect the PNG and its transparent edges. Completed results are saved to your asset library; use the download control to check your account access and export.
Keep the source visible, guide the target selection and inspect the result before reuse.
A scene can contain dozens of competing shapes. Point at the tree, building or prop you want, and the tool proposes one target description and bounding box instead of asking you to describe the whole scene.
Check the left, top, right and bottom edges before submitting. The selected point stays inside the target region, so an adjustment cannot silently switch the click to a different area.
The result is one foreground PNG with an alpha channel. Compare the silhouette with the original, then check roots, chair legs and other narrow details before layering it into another scene.
Completed extractions are saved as assets, and task history lets you reopen a submitted job. Keep the source and result together while deciding which objects need cleanup or another attempt.
The controls and examples make it easier to decide whether an extraction is useful for your project.
Upload one scene or choose it from your asset library. You can target an object already present in your artwork without generating a new full scene.
Read the object description and adjust all 4 bounds before the extraction starts. The visible target area gives you a chance to catch the wrong object.
The current tool charges 3 credits for one extraction. Object selection has no separate credit charge, but requires an account with enough credits to proceed.
Compare 3 actual source-and-output examples above. Their notes identify visible changes to tree roots, chair details and roof shading.
The output is a transparent PNG. After cleanup and sizing, you can import it through the normal image workflow in Unity, Godot or another 2D editor.
Use task history to reopen submitted work and the asset library to organize completed results. You can return to the source image when another prop needs extracting.
Choose an image you have permission to use, select one object and inspect the result. The extraction cost is shown before you submit.
Formats, costs, output limits and the difference between extraction and generation.
Upload a scene or choose one from your library.
Your transparent PNG will appear here.
AI extraction may change edges or hidden details. Check the result before using it in your game.